How to Add, edit, and delete Analytics users and user groups
Managing user access in Google Analytics is crucial for controlling who can view and manage your website's data. This guide walks you through the essential steps of adding, editing, and deleting users and user groups in Google Analytics. Whether you're setting up new permissions or adjusting existing ones, mastering these procedures ensures your analytics data remains secure and accessible to the right people
How to Add, edit, and delete Analytics users and user groups: Step-by-Step Guide
How to Add Analytics Users
STEP 1: Sign in to Google Analytics: Go to Google Analytics and sign in with your account credentials.
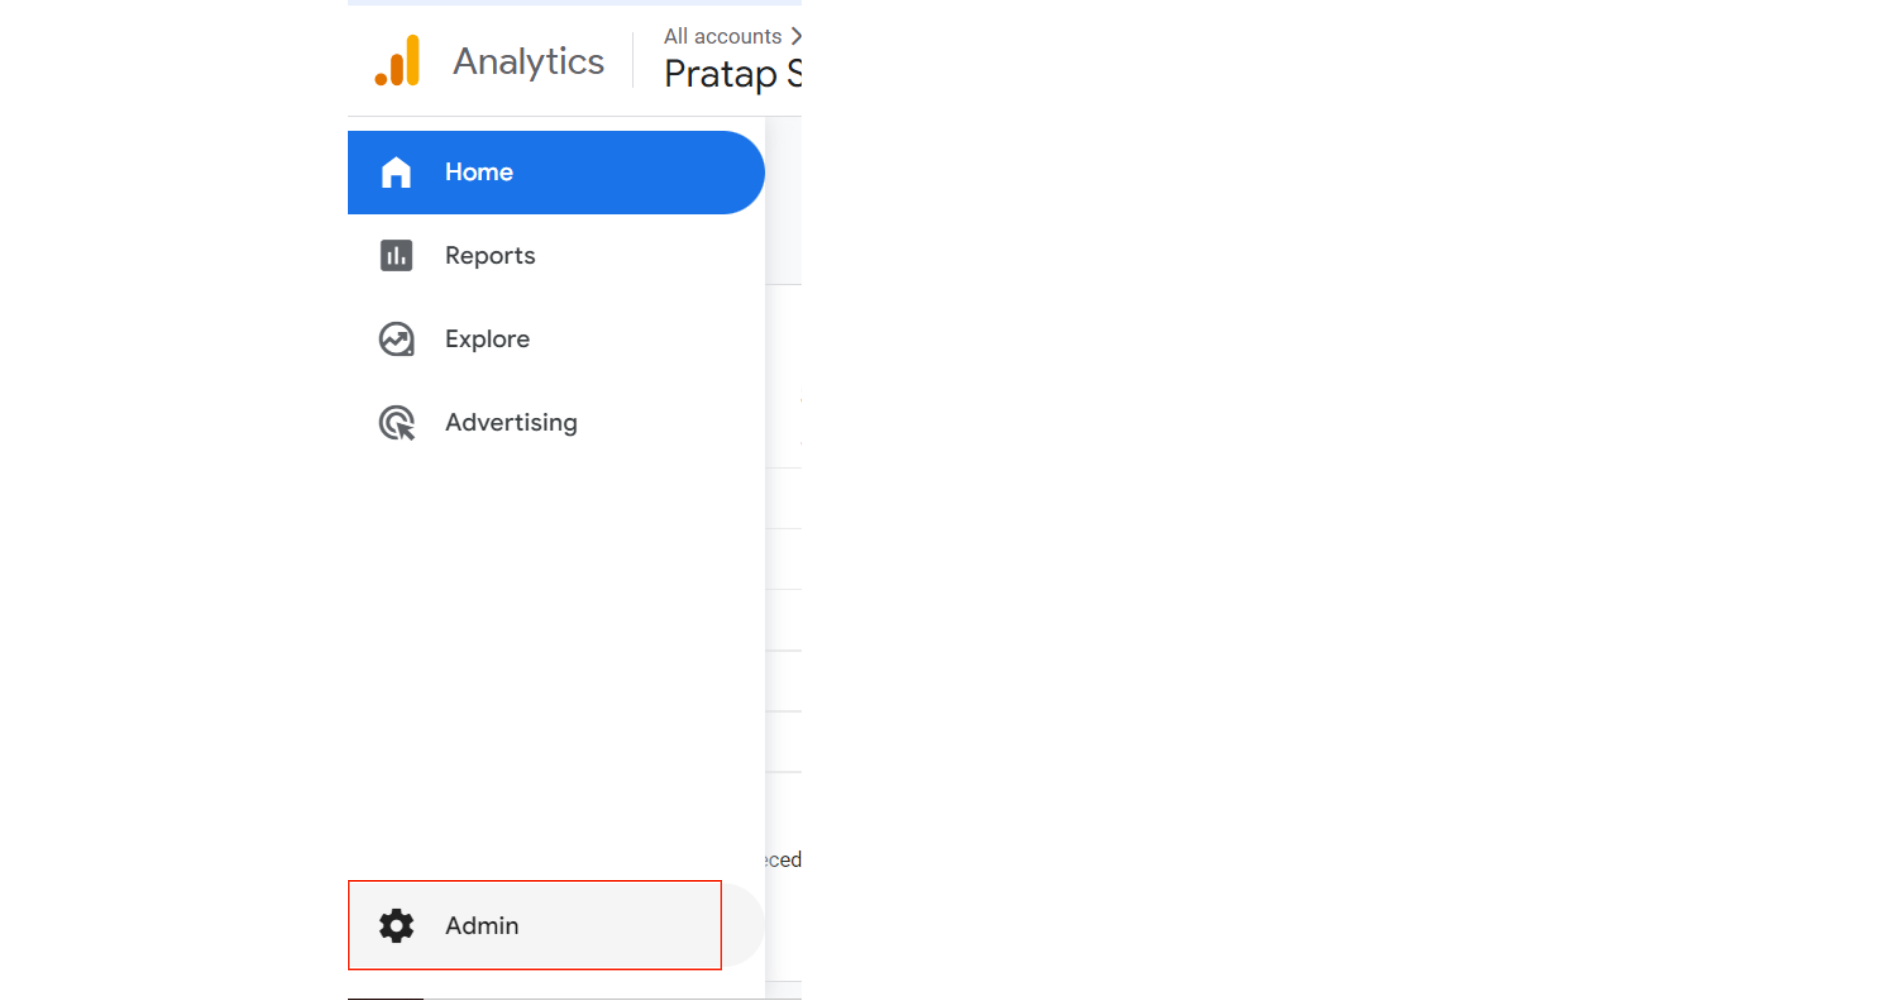
STEP 2: Navigate to Admin Settings: Click on the Admin tab located at the bottom left corner of the page.
STEP 4: Navigate to User Management: In the Account, Property, or View column (depending on your needs), click on User Management.
STEP 7: Save Changes: Click on Add at the top right corner to add the user.
How to Edit Analytics Users
STEP 1: Navigate to User Management: Follow steps 1 to 4 above to reach the User Management section.
STEP 2: Locate the User: Find the user you want to edit from the list of current users.
STEP 3: Edit Permissions: Click on the user's email address to edit their permissions. Adjust permissions as needed.
STEP 4: Save Changes: Click on Save to apply the changes.
How to DeleteAnalytics Users
STEP 1: Navigate to User Management: Again, follow steps 1 to 4 to reach User Management.
STEP 2: Locate the User: Find the user you want to delete from the list.
STEP 3: Remove the User: Click on the three dots icon next to the user’s email address.
STEP 4: Remove access: Confirm the deletion when prompted.Managing user access in Google Analytics ensures that the right people have the right level of access to your data, helping to maintain security and optimize data usage effectively.


